Last updated November 21, 2026
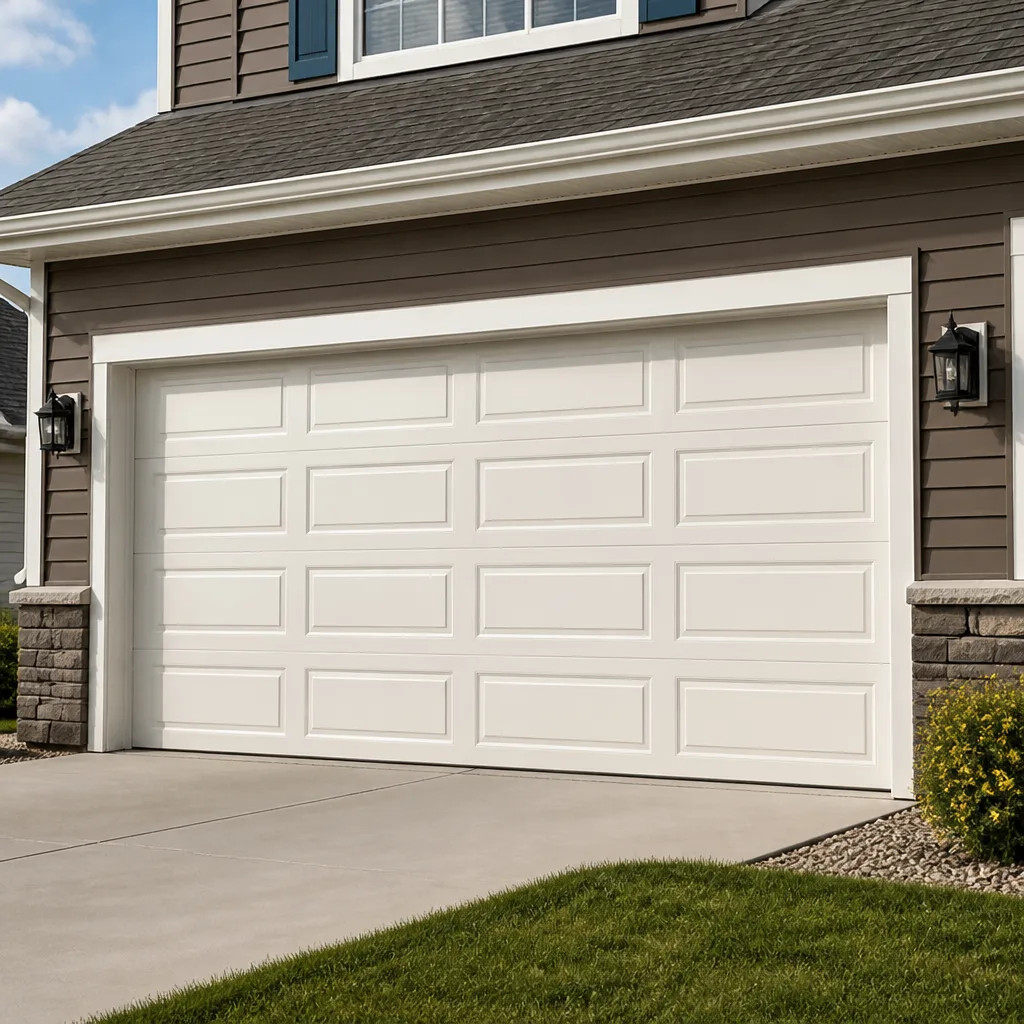 Raised-panel steel
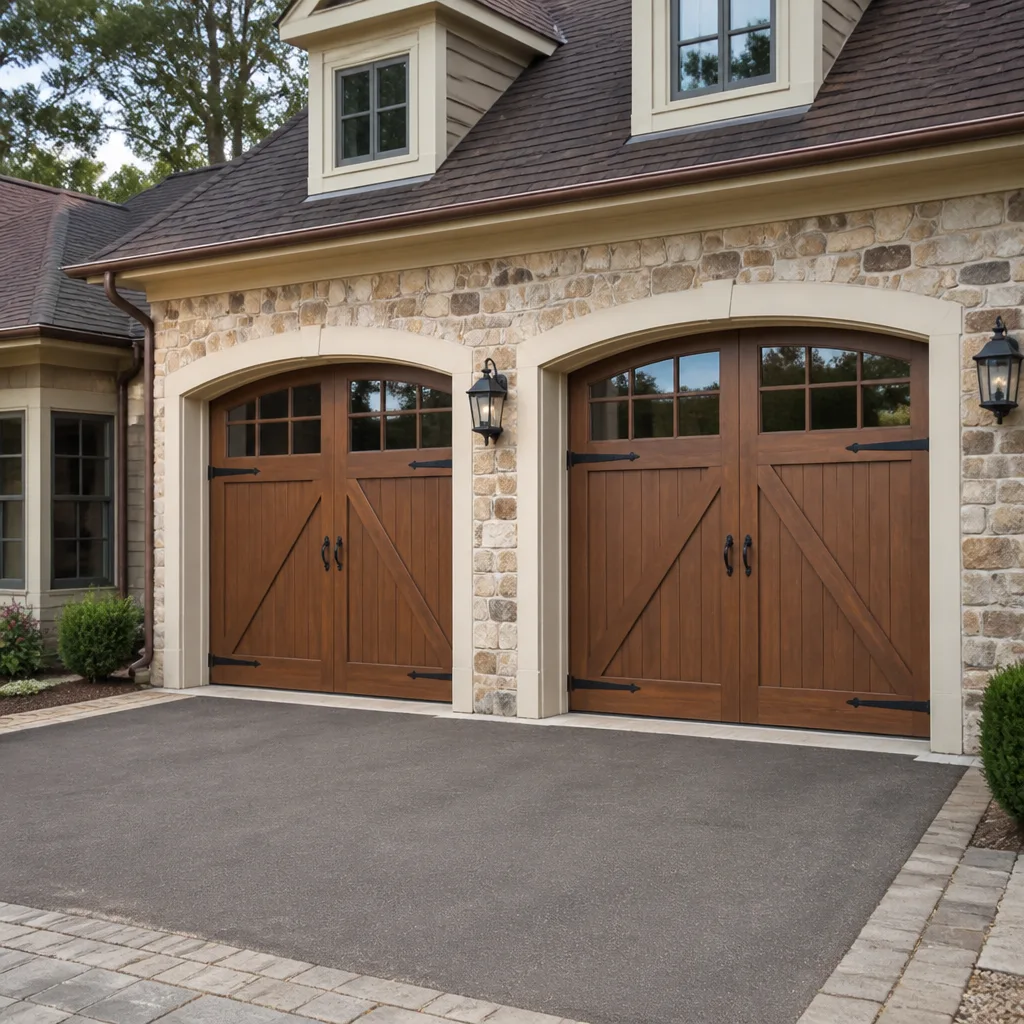 Carriage house
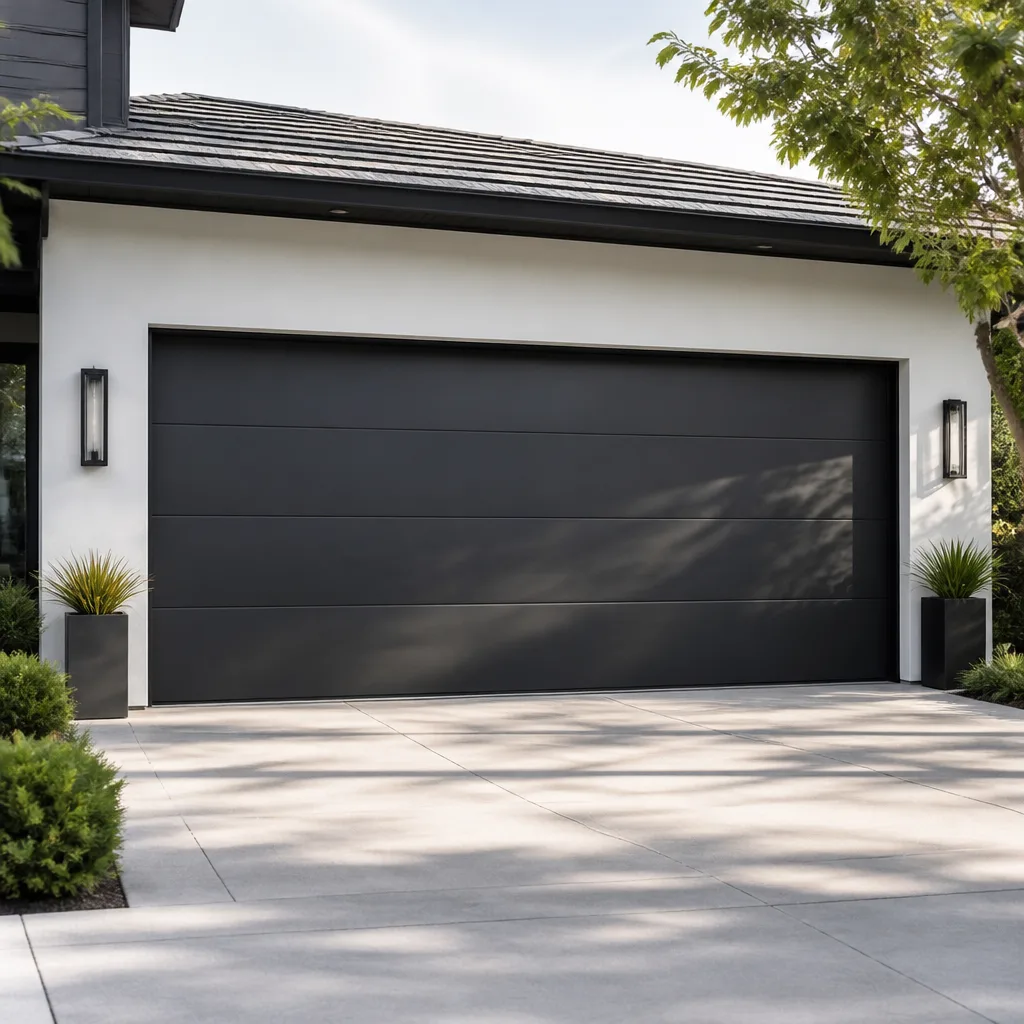 Modern flush
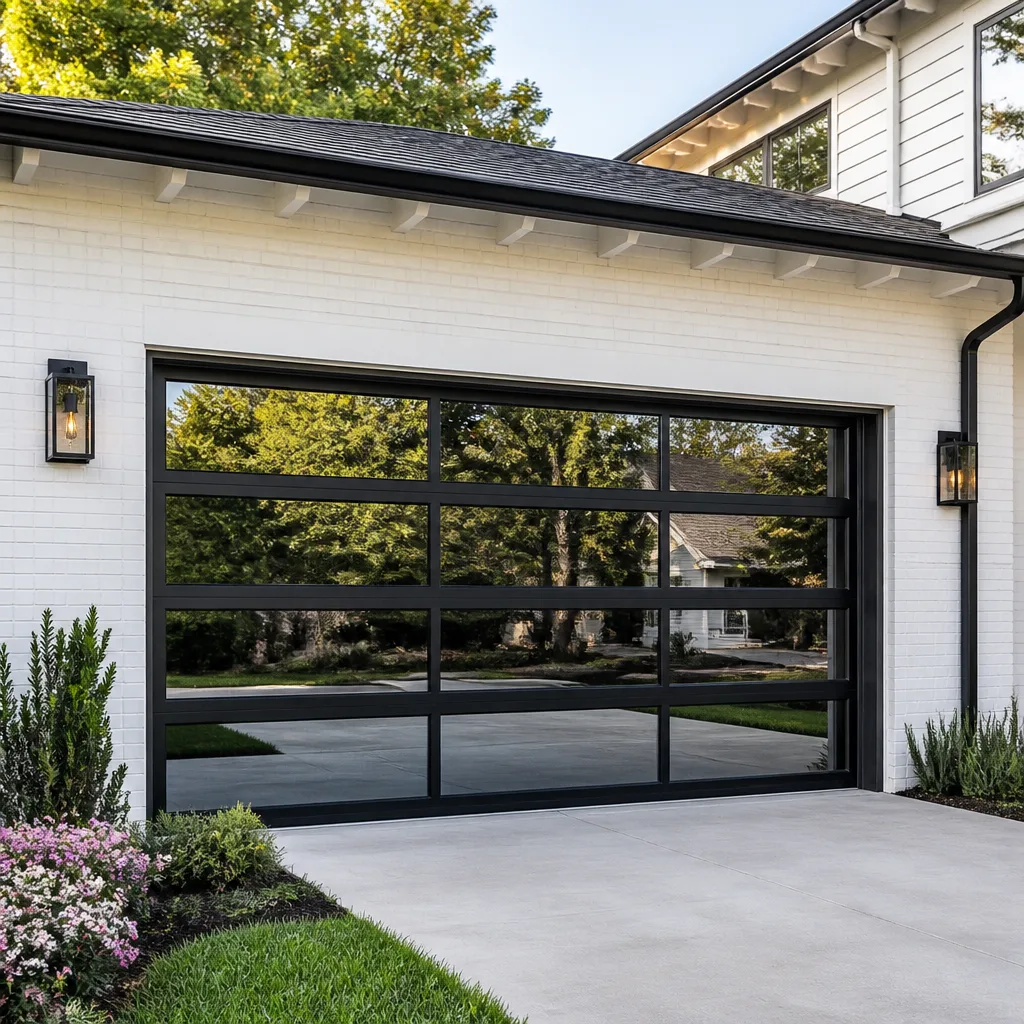 Full-view glass
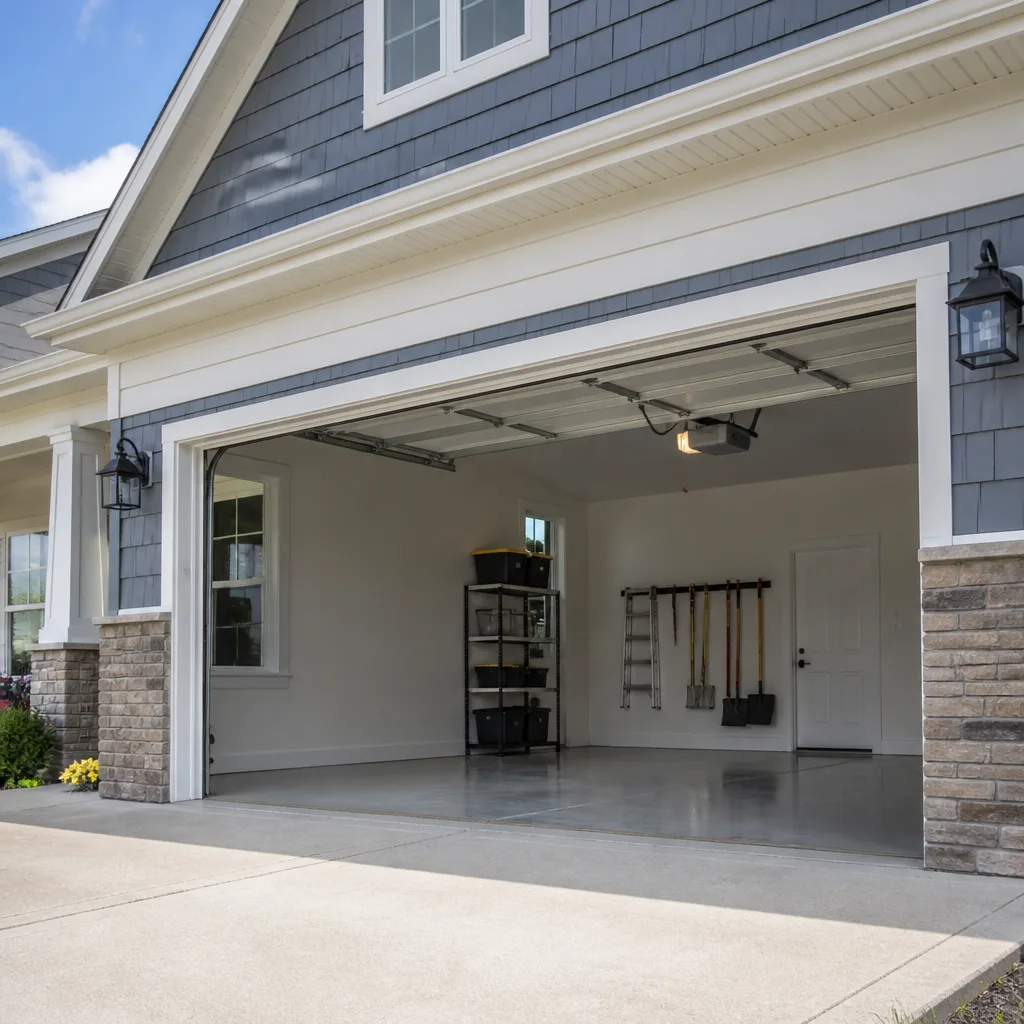 LiftMaster openers
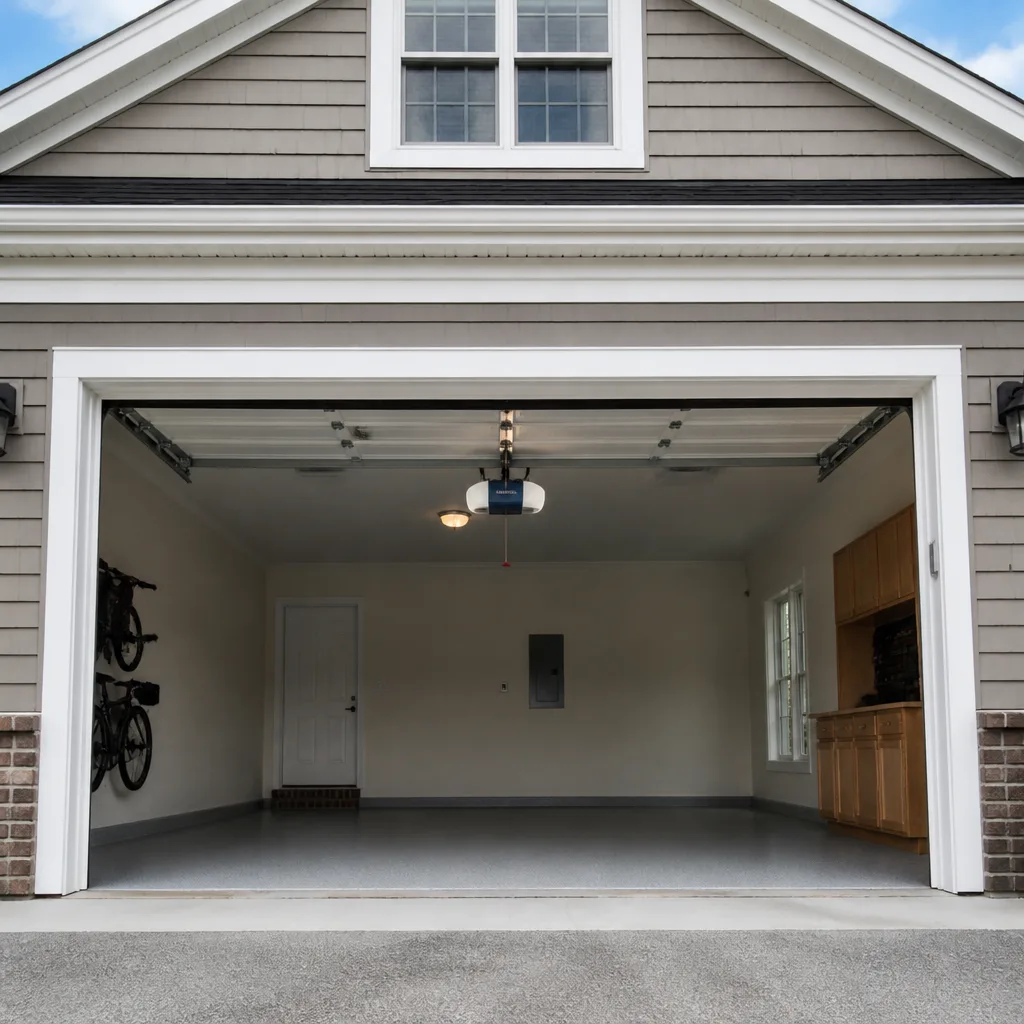 Chamberlain openers
Full 25-point door and opener safety check with every visit - springs, cables, rollers, tracks, and your LiftMaster or Chamberlain opener included
You get a price before we start. It does not change when the pro arrives.
Get your free estimateDIY vs Professional Garage Door: The Kingfield Homeowner’s Decision Guide
Most DIY garage door advice draws the safety line in the wrong place. It tells you never to touch a torsion spring, which is correct, then waves you toward everything else as if the rest of the system is a weekend project. In our experience, the more common and more expensive DIY mistake isn’t touching a spring. It’s misdiagnosing the problem, spending $80 on the wrong part, and still calling a technician once the door behaves exactly as it did before. This guide separates the tasks with a recoverable failure mode from the ones that don’t forgive a wrong move, so you can decide what’s genuinely worth doing yourself in Kingfield.
Styles & brands we work with
- Raised-panel steel
- Carriage house
- Modern flush
- Full-view glass
- LiftMaster openers
- Chamberlain openers
Quick Answer
You can safely handle the door’s user-serviceable parts: lubrication, safety-eye alignment, track wiping, remote and keypad pairing, and visual inspections. Anything involving torsion springs, cables, bottom brackets, panel replacement under tension, or the high-voltage side of an opener should go to a trained professional. A professional diagnosis, often free or low-cost, tells you which category your problem falls into before you buy a single part.
Table of Contents
- The Recoverable Failure Line: What DIY Actually Means
- Which Garage Door Tasks Are Genuinely Safe as DIY?
- Why Misdiagnosis Is the Most Expensive DIY Outcome
- DIY Opener Install: What You Save vs. What It Requires
- The Liability Reality for Homes in a Sale or Rental
- How to Use a Professional Diagnosis Before Buying Parts
- Kingfield Conditions That Affect the Decision
- Common Mistakes to Avoid
- When to Call a Professional
- Frequently Asked Questions
The Recoverable Failure Line: What DIY Actually Means
A recoverable failure is one where a mistake costs you time and money but not your fingers. That’s the line this guide uses, and it’s a more useful line than “dangerous” versus “safe.” Most garage door repairs sit on a spectrum, and the question is whether a wrong move fails loudly and harmlessly or fails without warning.
Here’s how the tasks sort out:
- Recoverable: Lubricating hinges and rollers, cleaning and realigning safety sensors, wiping tracks, adjusting travel limits on the opener, pairing a new remote or keypad, replacing a light bulb or battery backup.
- Not recoverable without training: Torsion spring replacement, extension spring replacement, cable replacement, bottom bracket work, drum and bearing plate service, and any panel swap that requires releasing tension first.
The spring is the component that makes the whole calculation. A torsion spring stores enough energy to cause a serious injury in under a second, and when it releases without warning there is no second chance to step back. Cables carry the same tension through the system. That’s why spring repair is a named specialty rather than a general repair task: it takes training to work around stored energy safely.
The door itself is a heavy moving assembly, often 100 to 300 pounds depending on material and width. Anything that requires you to hold that weight while adjusting tension is not a homeowner task. Anything that doesn’t – the sensors, the weather seal, the lubrication – is.
Which Garage Door Tasks Are Genuinely Safe as DIY?
You don’t need anyone’s permission to keep your door running smoothly, and several routine tasks are perfect for a Saturday morning with a stepladder and a can of lubricant. These are the ones we’d honestly tell a Kingfield homeowner to handle themselves.
- Lubricate hinges, rollers, and the spring. Use a garage door lubricant, not WD-40 or grease meant for other jobs. A thin even coat on the hinges every six months keeps the door quiet and reduces strain on the opener.
- Clean and realign the safety sensors. If the door reverses as soon as it starts to close, dirty or knocked sensors are the first suspect. Wipe the lenses and check that both eyes point at each other.
- Balance test the door. Pull the release, lift the door halfway, and let go. A door that stays put is balanced. One that drifts down or races up is telling you a spring is losing tension.
- Replace the bottom weather seal. The seal that runs along the bottom edge takes the most wear. A new one slides on with no tension involved.
- Clear the tracks. Wipe the inside of the tracks with a damp cloth. Don’t lubricate them; the tracks are meant to run dry.
- Pair a remote or reset a keypad. If your opener is a LiftMaster, Chamberlain, Genie, or Craftsman, pairing instructions are in the manual and follow a short sequence.
None of these tasks involve stored energy, none of them require you to hold the door’s weight, and all of them can be undone if you get them wrong. If your issue fits one of these, give it a try before you pick up the phone.
Why Misdiagnosis Is the Most Expensive DIY Outcome
Homeowners assume the biggest risk of DIY garage door work is injury. It’s real, and it’s the reason springs stay off-limits. But in our experience, the more common hit to the wallet is buying the wrong part because the symptom pointed somewhere else.
A grinding opener usually isn’t the opener’s problem. It can be a failing bearing, a loose chain, or a gear worn smooth inside the unit. A door that bounces back up as it closes could be a sensor issue, a travel limit out of adjustment, or a board-level fault on the opener. A door that closes crooked could be a broken spring on one side, a cable off its drum, or a bent track. Each of those has a different fix and a different part number, and hearing it as “grinding” over the phone doesn’t narrow it down.
Every wrong part you buy is money spent on a door that still isn’t working. A $60 part that solves nothing costs you twice: once when you buy it and once when a technician has to work around it. That’s why a professional diagnosis is the cheapest step in the whole process. We work across Chamberlain, Genie, Clopay, and Amarr systems, among others, because brand-aware diagnosis catches what a symptom search misses.
Two rules keep the diagnosis honest:
- Match the symptom to the mechanism before you buy anything. If you can’t name the part that’s failing, you’re guessing.
- Check whether the door’s exact brand and model has its own common failure points. A Genie opener and a Chamberlain opener with the same symptom often have different fixes.
DIY Opener Install: What You Save vs. What It Requires
Replacing an opener yourself can work and does save on labor. Whether it’s worth it depends entirely on whether your existing setup matches the new unit: same mounting points, same rail length, same door height, same wiring path.
Here’s what a modern opener install actually requires on most Kingfield-area homes:
- Overhead work on a ladder. Most openers mount at roughly 7 feet, and you’ll need to hold the unit in place while it’s fastened.
- Lifting the unit at height. A new opener is heavy enough that one person working on a ladder alone should not be doing it.
- Reading the framing correctly. If the new opener’s brackets don’t land on the same joists, you’ll be drilling new anchor points.
- Managing the low-voltage wiring to the wall button and sensors cleanly so nothing hangs loose where it gets pinched.
- Setting the travel limits and force adjustments against your specific door’s weight and balance.
- Pairing wall controls, remotes, and any keypad and confirming the safety reversal actually works before the door is put back into daily use.
The realistic time for a first-time install is half a day with a helper and the right tools. What you save is labor on a job that, done wrong, leaves the door opening into your car or reversing mid-travel. That’s why we offer garage door opener repair and installation as a full line: the install spec for a Genie and a Chamberlain is not the same, and using the wrong one is when DIY goes sideways.
The Liability Reality for Homes in a Sale or Rental Context
If you’re planning to sell or rent the home, the DIY decision changes. A misadjusted opener or a door that doesn’t reverse on a tested safety check is a documented risk, and it will surface during a home inspection. Every home sale inspection includes a garage door safety reversal test, and a door that fails is flagged regardless of who did the work.
The rental side has its own risk. A landlord who installs or repairs a garage door themselves and then hands the keys to a tenant is accepting an obligation to keep that system functioning safely, and the tenant isn’t going to run the same checks you would. From a liability standpoint, the installer is the one holding the risk if something fails and someone gets hurt.
The practical guidance:
- For a home you’re about to list, have any recent door or opener work inspected before the listing photography happens. Don’t let a failed reversal test become a buyer’s bargaining lever.
- For a rental, keep the paperwork on spring and opener work, and keep it with the property record.
- If anyone in the household is a tenant rather than the owner, the parent system work is worth doing under a service record you can point back to.
The safest reading is the simplest: if a future buyer or tenant will rely on the door, the work that keeps them safe should be documented, and that generally means a professional performed it.
How to Use a Professional Diagnosis Before Buying Parts
A professional diagnosis is your best tool to decide whether DIY is viable. Getting a trained eye on the door before you buy anything turns a guess into a plan, and most good diagnostic visits are free or a nominal charge that often rolls into the repair cost if you go ahead.
Here’s how to use one well:
- Describe the symptom, not the diagnosis. “It grinds when it goes up” is more useful than “the opener is shot.” Give the technician the specific conditions: noise, timing, temperature, what the door does when it stops.
- Ask which of the fixes fall into the safe DIY tier. A good technician is honest about what’s worth the homeowner’s time and what isn’t.
- Get the part names before you shop. If the technician says “the opener’s gear and sprocket,” look those up. If you can’t find them for your exact brand and model, that’s a signal the fix is more nuanced than the part list makes it look.
- Ask for a written estimate either way. Compare the estimate against the part cost plus the time you realistically have to spend. That’s the real DIY savings figure, not just the part price.
We schedule a diagnosis this way on purpose. The point is to give you an accurate read of the door, not to push a repair you don’t need, and once the diagnosis is clear you can make the choice that fits your comfort level. If it’s a spring, we’ll say so. If it’s a sensor, we’ll tell you it’s a five-minute fix you can do yourself.
Kingfield Conditions That Affect the Decision
The local climate changes what DIY is reasonable. Minnesota winters mean the door runs through a cycle of freezing nights and freeze-thaw days, and that matters to a few specific parts. The bottom seal takes the most punishment, which is why some Kingfield homeowners find themselves replacing it more often than the manufacturer suggests. The seal itself is a genuinely easy DIY swap.
The opener, however, is a different calculation in cold weather. When temperatures drop, grease thickens and opener gears strain more than they do in warmer months. The same strain makes a failing gear louder or slower in the cold, and symptoms that don’t show up in July can show up in a January cold snap.
Doors housing cars in a cold climate also take more cycles because they’re the main way in and out of the house, which accelerates wear on the springs and the opener’s drive components. That faster cycle count makes regular lubrication and a balance test more valuable in Kingfield than they might be in a warmer place. It’s also why we see more garage door repair calls in the colder months: the door tells you something’s wrong when everything stiffens up at once.
Extreme cold also affects how long a broken door can wait. Leaving a door stuck open overnight can freeze the opener’s travel halfway and put the panels under stress they weren’t designed for. In Kingfield, a jammed door on a cold morning is worth solving that day even if the fix is small.
Common Mistakes to Avoid
- Buying a part before identifying the failing component. A grinding noise is not a part, it’s a symptom. Two-thirds of the DIY disappointment we see comes from buying on symptom rather than cause.
- Touching a torsion spring because a video made it look manageable. The video gives you the steps and not the physics. Stored energy in a torsion spring has no safe margin for a first attempt.
- Lubricating the tracks. The tracks are meant to run dry. Lubricant collects grit and eventually makes the door louder and harder to move.
- Skipping the balance test. That thirty-second test tells you whether the opener is fighting an unbalanced door. It should be part of any DIY check before you blame the opener.
- Not testing the safety reversal after any opener work. A door that closes without reversing when it meets an obstruction is a genuine hazard, and it’s the test a home inspector will run the day the house sells.
- Mixing brands in parts purchases. A Clopay door and an Amarr door can look identical on the outside and have different bracket spacing inside. Order by model, not by look.
- Leaving a door stuck open or midway overnight in the cold. In a Kingfield winter, an open door overnight can freeze the track and the opener’s travel in a position that makes the next fix bigger than it needed to be.
When to Call a Professional
Some situations are settled without debate. A snapped spring, a door hanging unevenly on one side, a cable that’s come off its drum, a door that won’t close and leaves the house open, or any noise coming from the spring or cable assembly all belong with a trained professional. So does anything involving the opener’s high-voltage wiring or a replacement opener where the mounting points don’t match.
Emergency situations deserve their own mention. When a door won’t open or close and you need it to, the fix is not a part you can buy and install the same hour. That’s when you call and we get it moving. We also cover full door replacement when a repair no longer makes sense, and we can quote the garage door installation as a scheduled job with a free measure and a written price. Garage Door Repair Kingfield offers free estimates in Kingfield – call (877) 492-3659 to get an exact quote. Our technicians have up to 10 years of experience.
Frequently Asked Questions
No. Torsion and extension springs store enough energy to cause serious injury in an instant, and a mistake during replacement or adjustment can release that energy. Spring repair should always be done by a trained technician with the right tools – call (877) 492-3659 if you suspect a broken spring.
Lubrication, safety-sensor cleaning and alignment, bottom seal replacement, remote and keypad pairing, travel limit adjustments, and visual balance tests are all safe DIY tasks. Anything involving springs, cables, bottom brackets, or panel swaps under tension should go to a professional. If you’re unsure which category a task falls into, a free estimate settles it quickly.
A professional diagnosis identifies the failing component rather than the symptom, which is what stops you from buying the wrong part. Symptoms overlap across very different fixes, and guessing costs you the part price plus the technician’s time later. A diagnostic visit is quick and usually cheap – call (877) 492-3659 to book one.
Sometimes, yes. If the replacement unit matches the existing mounting points, door height, and wiring path, a handy homeowner with a helper can do it in half a day. If the brackets don’t line up or the opener is a different brand from the old one, the job is best left to a technician – we install and service LiftMaster, Chamberlain, Genie, and other major brands. Call (877) 492-3659 for a free estimate on the install.
Yes, because home inspections test the safety reversal on every garage door. A door that fails the test gets flagged regardless of who did the work, and the repair and adjustment then becomes a negotiating point – call (877) 492-3659 to get the system checked and documented before listing.
Estimates are free. A diagnosis or repair estimate doesn’t have a line-item cost to the homeowner, and the written quote sets the final price for any work performed. Call (877) 492-3659 to schedule one.
The Bottom Line
The DIY versus professional decision isn’t about how handy you are. It’s about knowing which failures are recoverable and which aren’t. Sensors, seals, lubrication, and pairing tasks are yours to own. Springs, cables, and tension work are not, and the most expensive mistake in between is buying the wrong part based on a symptom. A professional diagnosis, usually free, closes that gap. For everything from a snapped spring to a full new door, our team handles the work across major brands and the complete system. For a free estimate in Kingfield, call (877) 492-3659 and we’ll give you a clear answer on what the door actually needs.
Written by the team at Garage Door Repair Kingfield.
See the difference
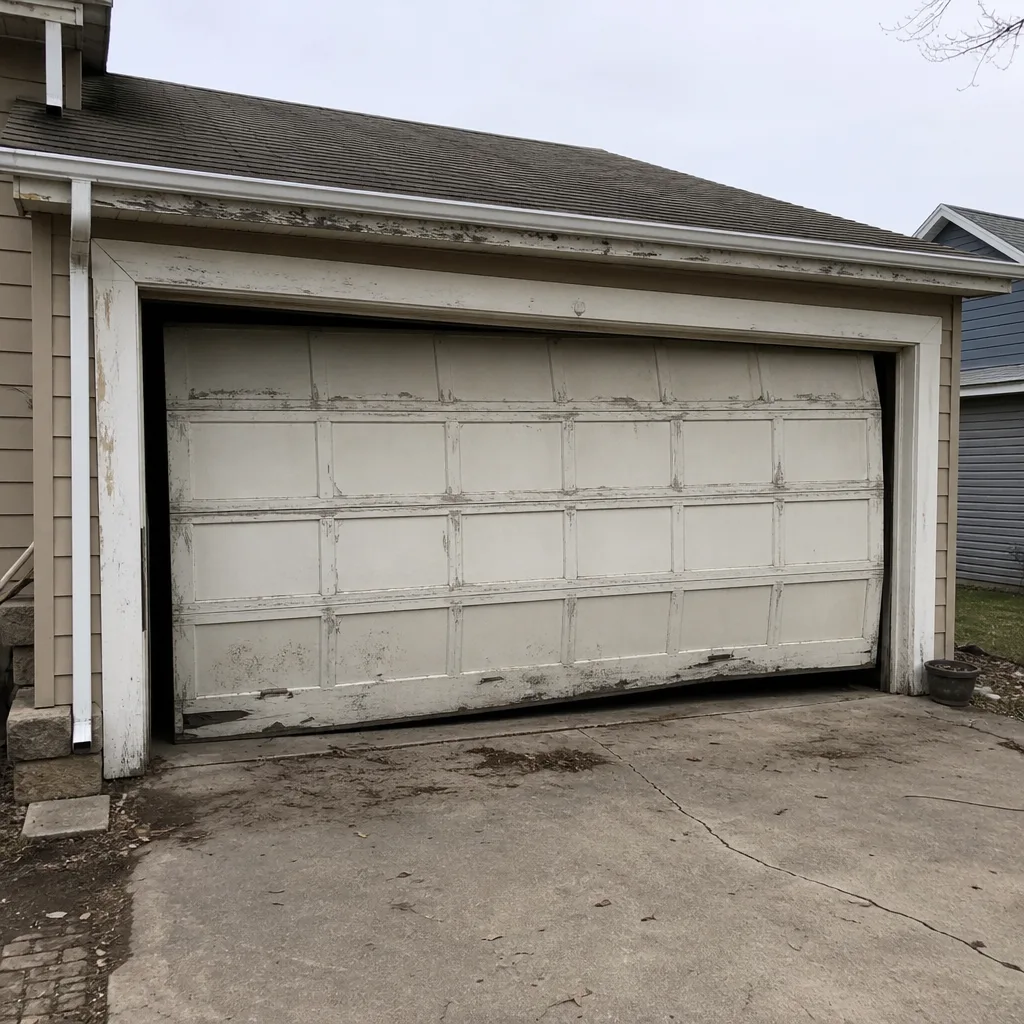 Before
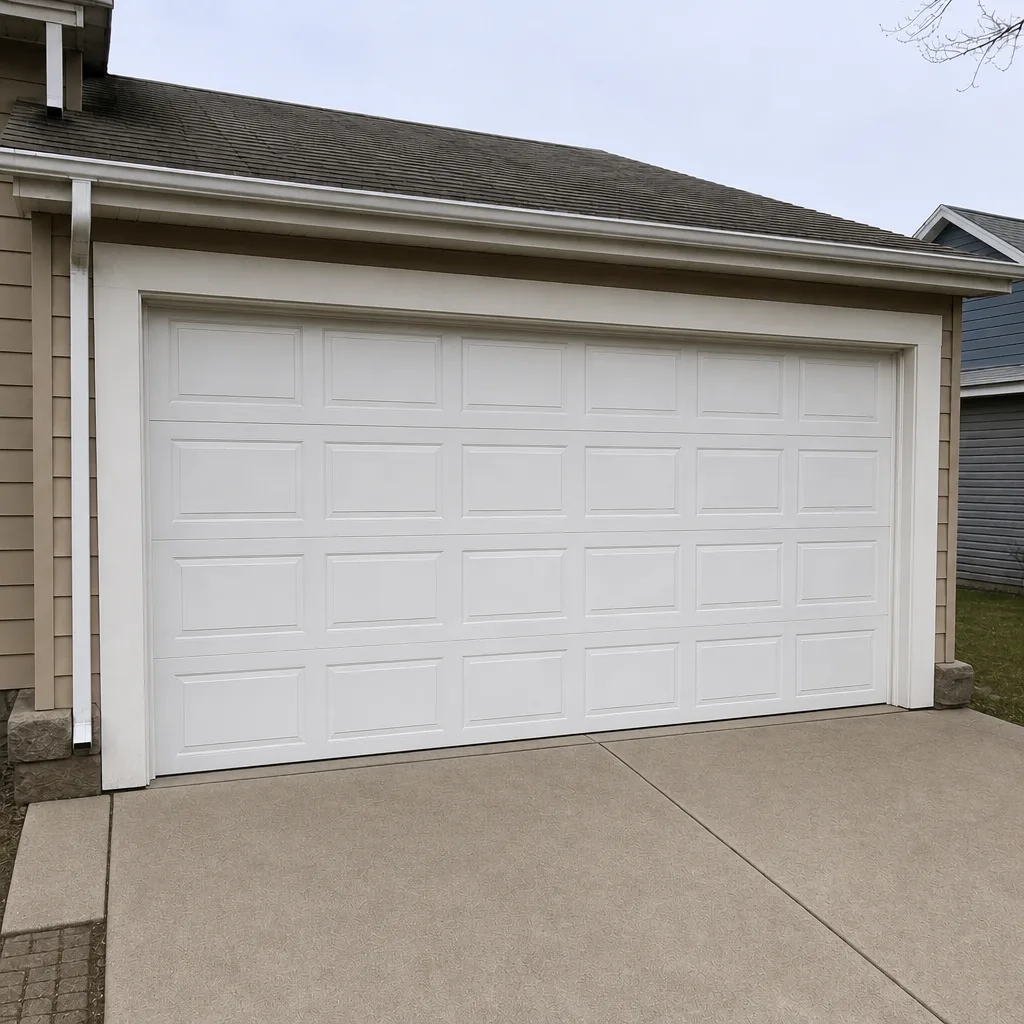 After
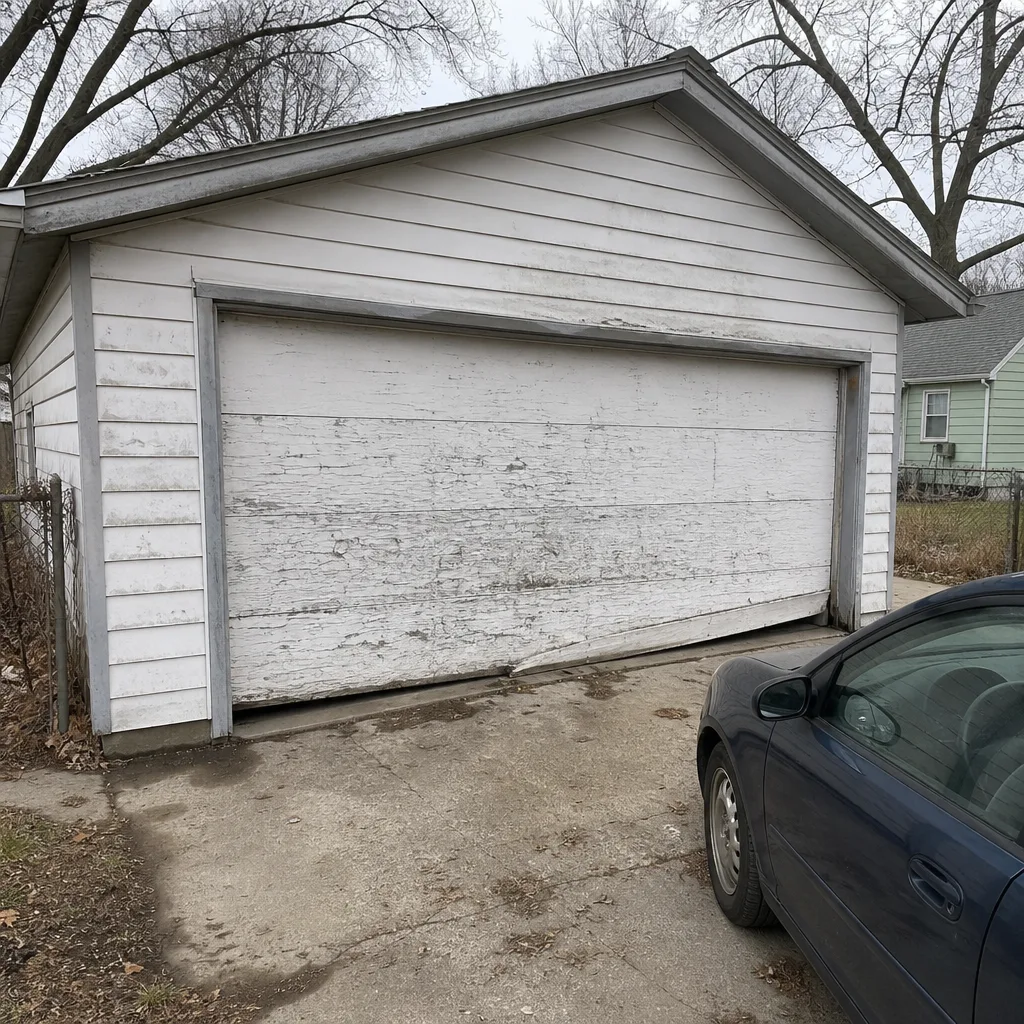 Before
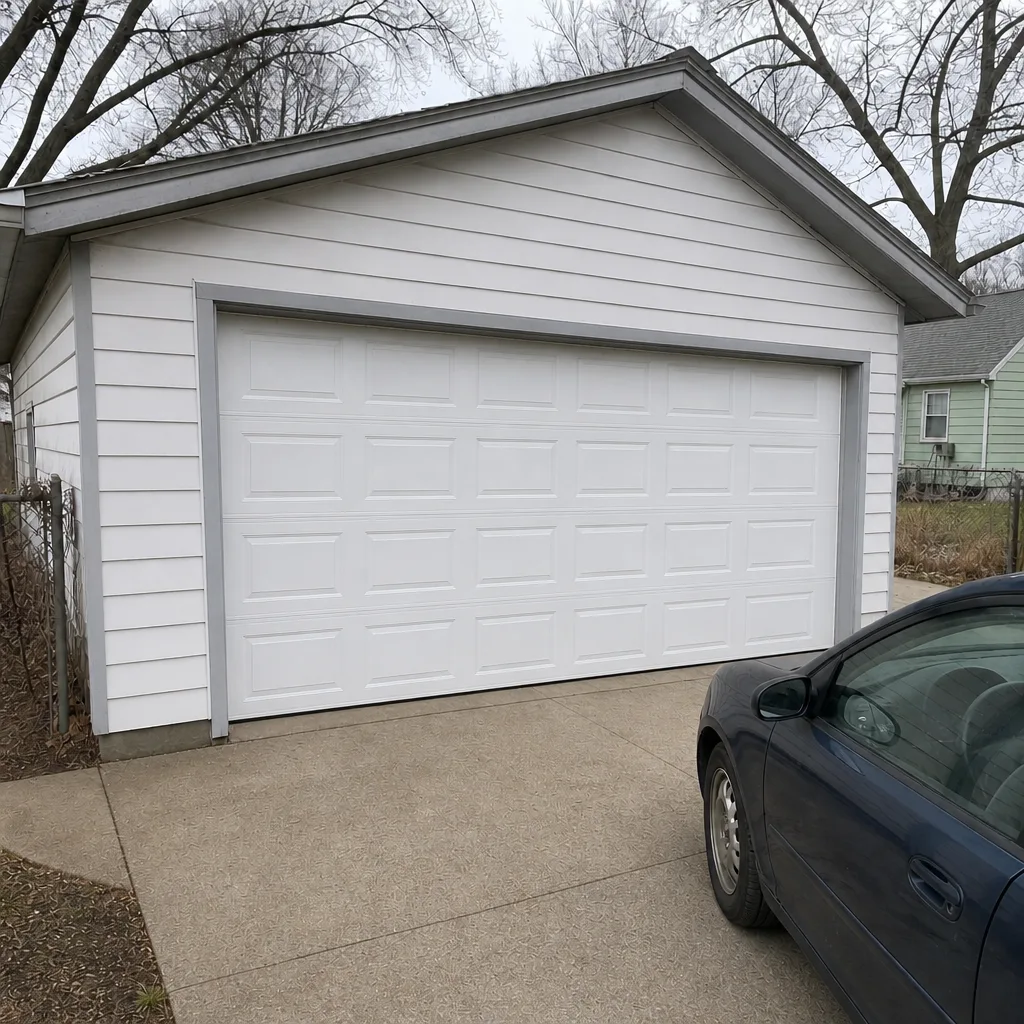 After
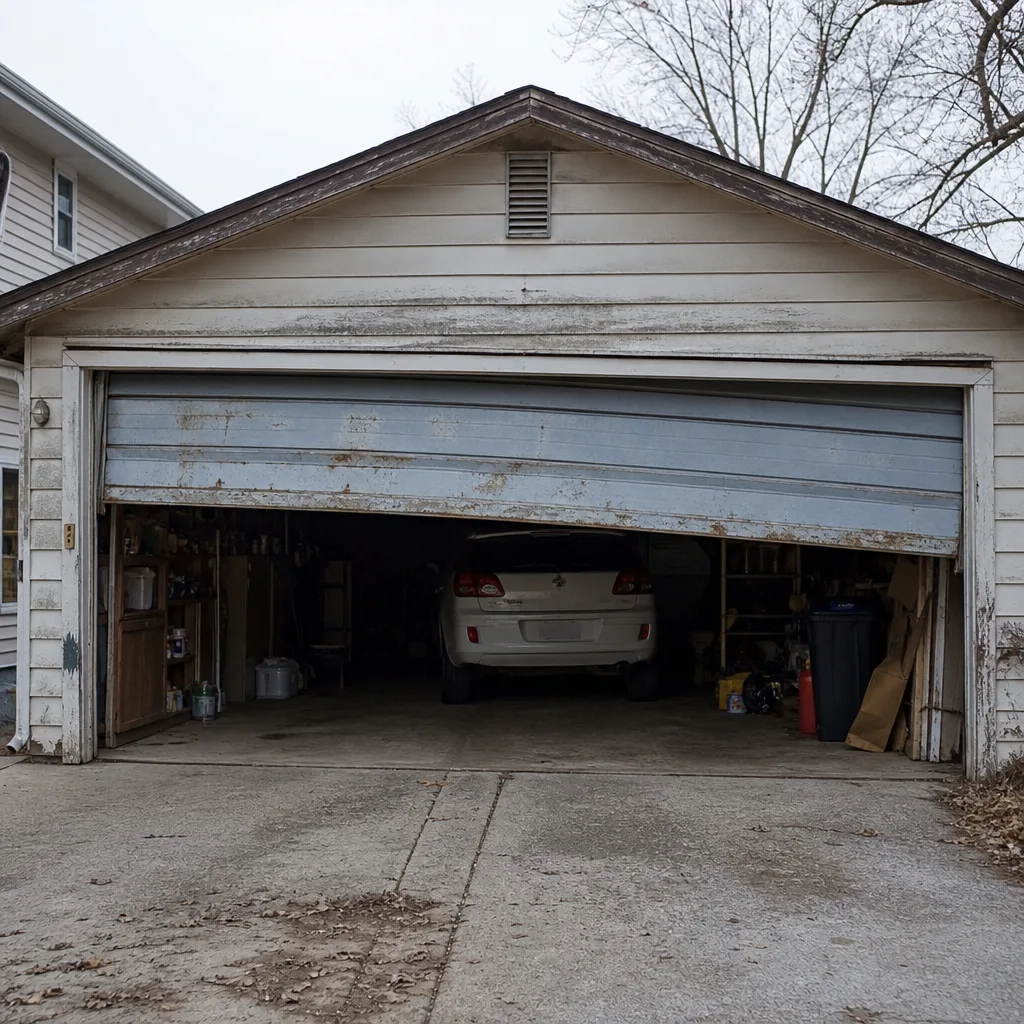 Before
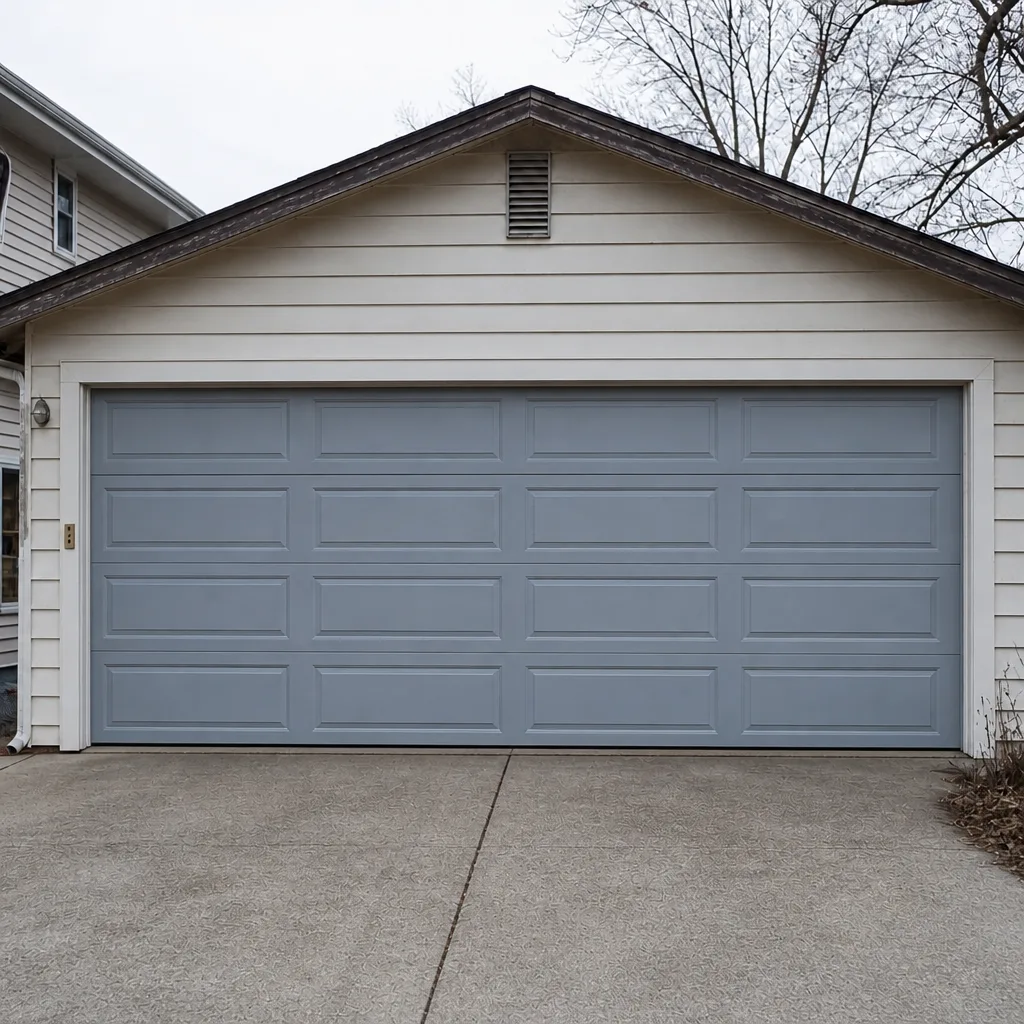 After